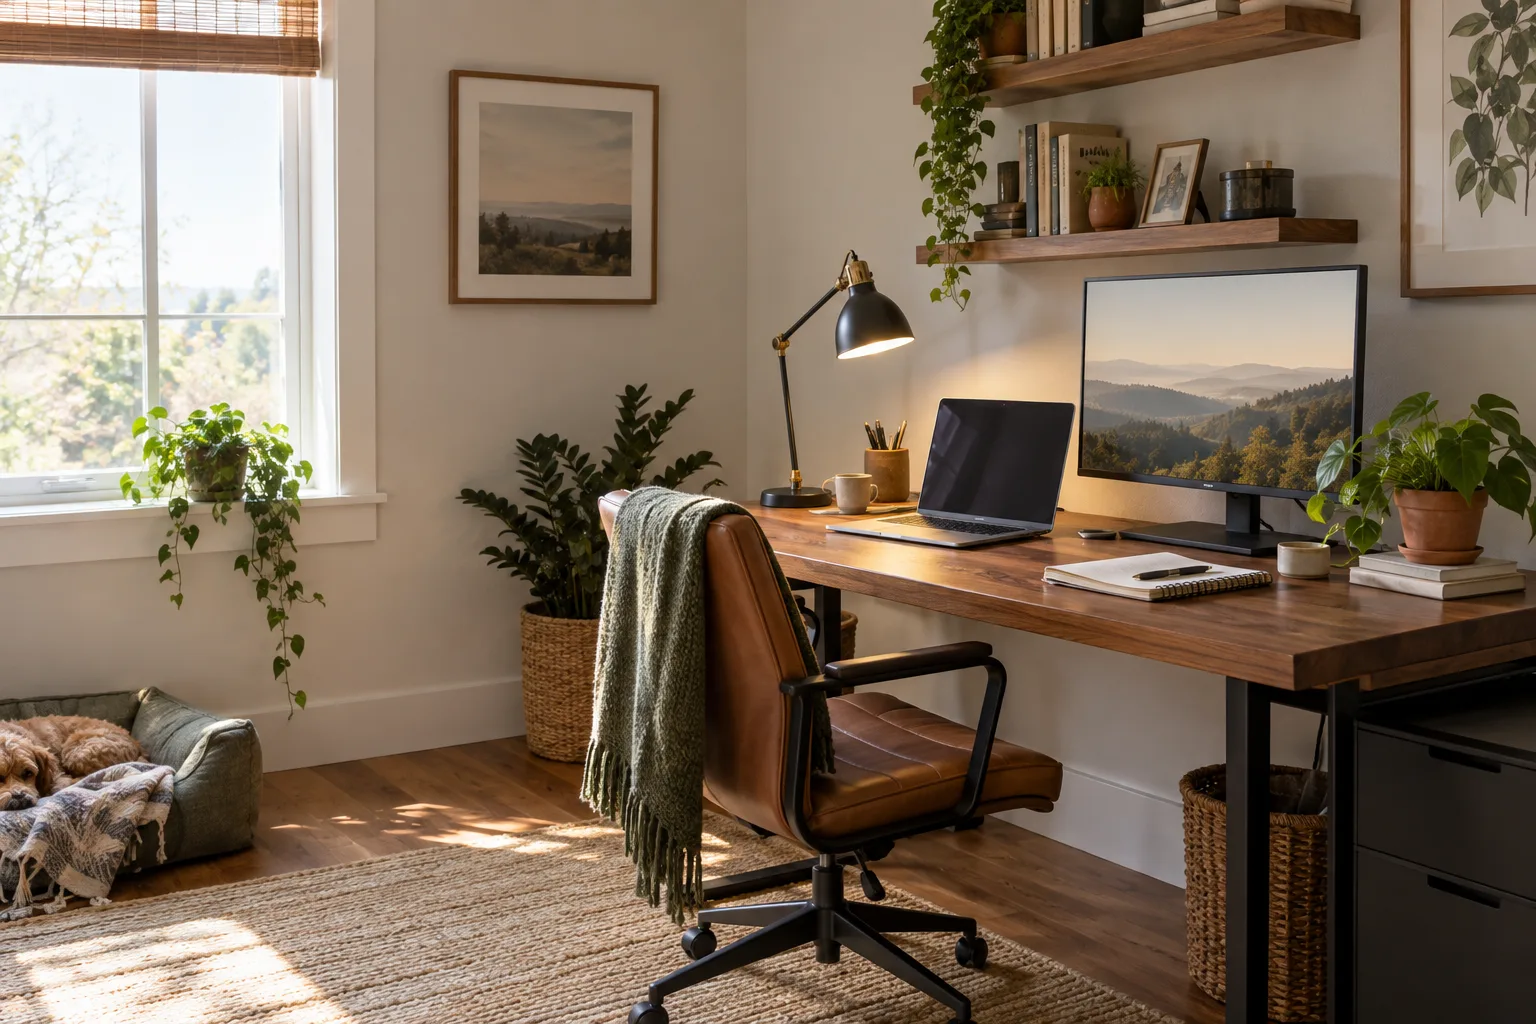
To set up a home office, choose the work zone and measure it first, then position the desk and chair, raise the screen, add balanced light, route power and finish with storage. Building in that order creates a home office setup connected to real needs and prevents a small room from filling with things that do not improve the workday.
1. Choose the work zone before the accessories
A dedicated room is convenient, but it is not a requirement. A corner of a bedroom, living room or dining area can work when it has a defined footprint and an end-of-day reset. Check noise, daylight, heating, nearby outlets and whether another person needs the same space.
The most useful home office setup ideas begin with these constraints rather than a particular aesthetic. Measure the available width and depth, the distance from the desk to the wall and the space needed to pull out a chair. Mark the footprint with painter’s tape or paper before moving furniture. A few minutes of measuring can reveal that a wall outlet is blocked, a door opens into the chair or the monitor would sit too close to the window.
2. Fit the desk and chair to the room
Choose a desktop that holds the equipment you use together and leaves a clear area for the current task. Measure the monitor or laptop, keyboard, mouse, lamp and notebook as one arrangement. Leave enough depth for the screen to sit back while your hands remain comfortably on the desk.
If your question is the narrower “how to setup desk,” place it so the primary task faces the room’s best light and the chair has a clear path in and out. Keep frequent-use items close, but let the surface support work before storage.
Set the chair so your feet have stable support and your shoulders stay relaxed at the keyboard. If the desk cannot change height, adjust the chair or add stable foot support. The useful test is whether you can work without constantly reaching up, down or forward.
3. Set the screen, keyboard and camera
Start with the screen you look at most. Place it in front of your main working position, then adjust its height and distance so you can read without leaning toward it. A laptop stand plus separate keyboard and mouse can raise the display while keeping the hands at a more useful height.
For anyone searching for “how to setup desk with two monitors,” choose the primary display first. Centre it with your chair, then place the second beside it at a similar height and angle. A shallow V can reduce turning; a straight line may suit a wide desk. Check stand footprint, wall clearance and cable length before committing.
Keep the camera near the screen used for calls and check the frame while seated. Put the keyboard and mouse in the main zone, then move less-used items to a shelf, drawer or tray.
4. How to set up a home office in a small space
Small rooms benefit from using height and depth in layers. Keep the screen toward the back, the keyboard and current task in the centre, and charging on one side. A narrow shelf, wall rail or under-desk drawer can hold nearby items without taking the space where you write or use a mouse.
Choose one end-of-day reset: put the laptop in a cabinet, slide the keyboard under a shelf or group papers in one folder. The best small-space solution makes the desk easy to clear when the room needs another purpose.
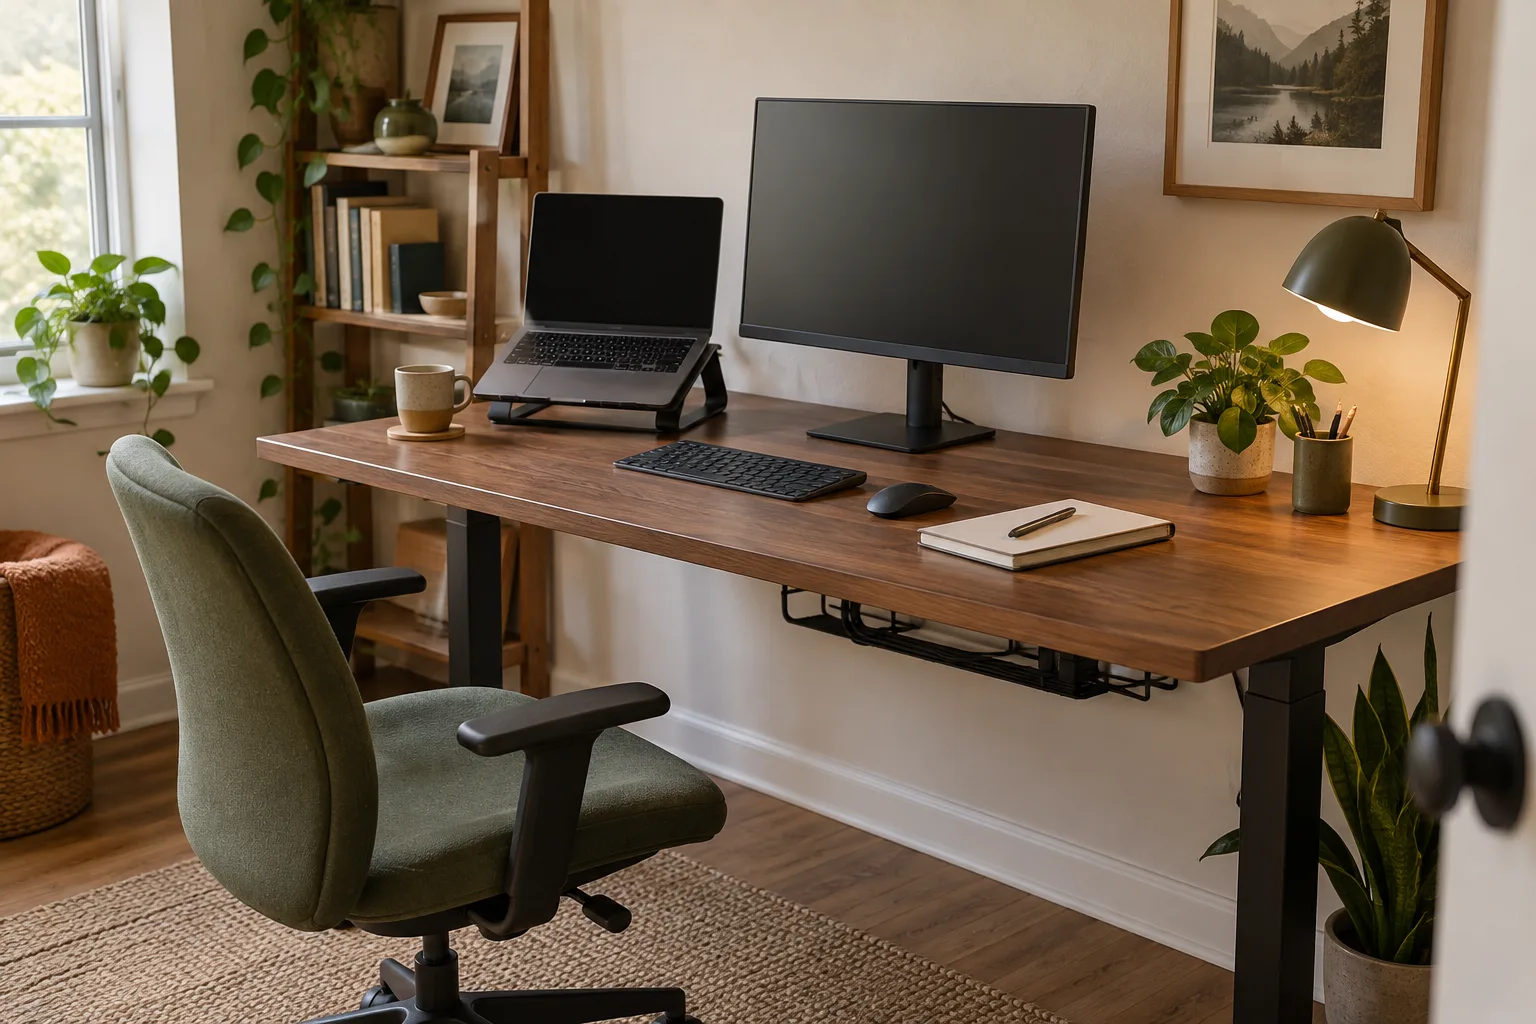
For more compact-room ideas, see our guide to desk setup ideas for a small home office. It focuses on the same principle: add a second layer only when it protects the main work surface.
5. How to light your desk setup
Good desk lighting combines the room’s ambient light with a controllable work light. Place the desk so daylight does not shine directly into the screen, and check reflections at the hours you usually work.
When deciding how to light your desk setup, give the task light one job: illuminate paper, a notebook or the keyboard without creating a bright spot in the display. A movable head, reachable switch and useful dimming range matter more than several lights. Keep the base out of the main hand area if the desk is narrow.
For evening work, combine a lower room light with the desk light instead of leaving a bright lamp in a dark room. If glare appears, change the angle or location before increasing brightness.
6. Use cable management ideas that stay serviceable
Start cable management after the desk layout works. Identify the fixed cables, the cables you unplug every day and the power source. Then choose one exit point at the back or side of the desk. Keep a small loop of slack near each device and gather the excess closer to the exit, so a charger can move without pulling the whole route loose.
Useful cable management ideas are simple: adhesive clips for a few leads that need to stay put, a sleeve where several cables travel together, and a tray or basket for a power brick and fixed bundle. Label both ends of unfamiliar cables before hiding the middle section. A tidy route should make the next connection easier, not turn a basic unplug into a search behind the desk.
Under-desk cable management
Under desk cable management works best when the heavy or fixed parts move below the worktop while the ends remain accessible. Mount or place the power strip where it is secure, ventilated and easy to reach, then route the bundle toward the nearest leg or rear corner. Keep cables clear of chair wheels, moving desk frames and heat sources. For a sit-stand desk, raise and lower the frame before finalizing the route and leave only the slack needed for its full movement.
Do not overload a power strip, cover ventilation openings or trap a cable under a sharp edge. Follow the instructions for any mounting hardware and leave yourself a way to inspect or replace a cable later. Our guide to desk cable management goes deeper into choosing routes, trays and accessible connection points.
7. Make the desk setup look better by editing it
If you are asking “how to make desk setup look better,” begin by removing objects rather than adding matching accessories. Keep one visual anchor, group the rest into useful zones and leave some open desktop for the next task.
Repeat one or two materials or colors, then hide backups and rarely used adapters below the desk or in a drawer. A small personal object is enough; decoration should not block the light, screen or cable route.
For a calmer version of the same approach, read how to improve your desk setup. It treats comfort, lighting, screen height and storage as small changes that can be made in sequence instead of as one large makeover.
8. Set up a home office for remote work
If you are learning how to set up a home office for remote work, plan for meetings, charging, note-taking and closing the laptop. Keep headphones or a microphone within reach, place the camera near the screen and check the frame while seated. If calls need privacy, decide where a door, divider or schedule fits.
Give the desk a “ready” state with the screen, keyboard, charger and notebook in place, and a “closed” state with cables clear and work grouped. This boundary matters when the office occupies a shared room.
9. Build the setup in stages
You do not need to buy a complete room in one pass. Use the following order and stop whenever the desk already solves the problem in front of you:
| Stage | Set up | Check before moving on |
|---|---|---|
| Space | Desk footprint, chair path and outlet access | The room can still function around the office |
| Core work | Desk, chair, screen, keyboard and pointing device | The main task is comfortable and easy to reach |
| Environment | Daylight, task light, background and sound plan | Work and calls fit the hours you use the space |
| Finish | Under-desk route, storage and a few personal details | The desk can be reset without a long tidy-up |
If you searched for “how to setup a home office,” this sequence is the useful short version: make the space fit the work, make the screen and light fit you, then hide only what does not need to be in reach. Revisit the layout after a week of normal use and adjust the part that creates friction, rather than replacing everything because the photograph in your head changed.
QUESTION
What should I do first?
Measure the space and identify the work you do most often. Put the desk where the chair, screen and power can work together, then solve the biggest daily interruption before adding storage or decoration.
What if the only available space is shared?
Keep a defined footprint and a clear end-of-day reset. A rolling cart, nearby drawer or one portable container can hold the items that need to leave the room, while the desk itself stays simple enough to serve another purpose.
When is the setup finished?
It is finished when you can start work, change tasks and close down without fighting the furniture or searching for basic tools. A home office does not need to look like a showroom to be ready for the next day.
FAQ: setting up a home office
Do I need a separate room for a home office?
No. A defined corner can work well when the desk has enough clearance, the screen is positioned comfortably and work items have a place to go at the end of the day. A separate room is helpful for privacy, but it is not the only workable arrangement.
What size desk works for a home office?
Choose the smallest desk that fits the equipment you use at the same time while leaving room for your hands and current task. Measure the desktop, chair clearance, wall distance and cable route before buying; the right size depends on the actual workflow, not a standard number.
Is a monitor necessary for working from home?
No. A laptop can be enough for many workflows. An external monitor becomes useful when you need a larger viewing area, a separate keyboard or a fixed screen position, but it should fit the desk rather than crowd it.
This is an informational guide with no affiliate links. Choose equipment only after checking that it fits your space, routine and existing devices.