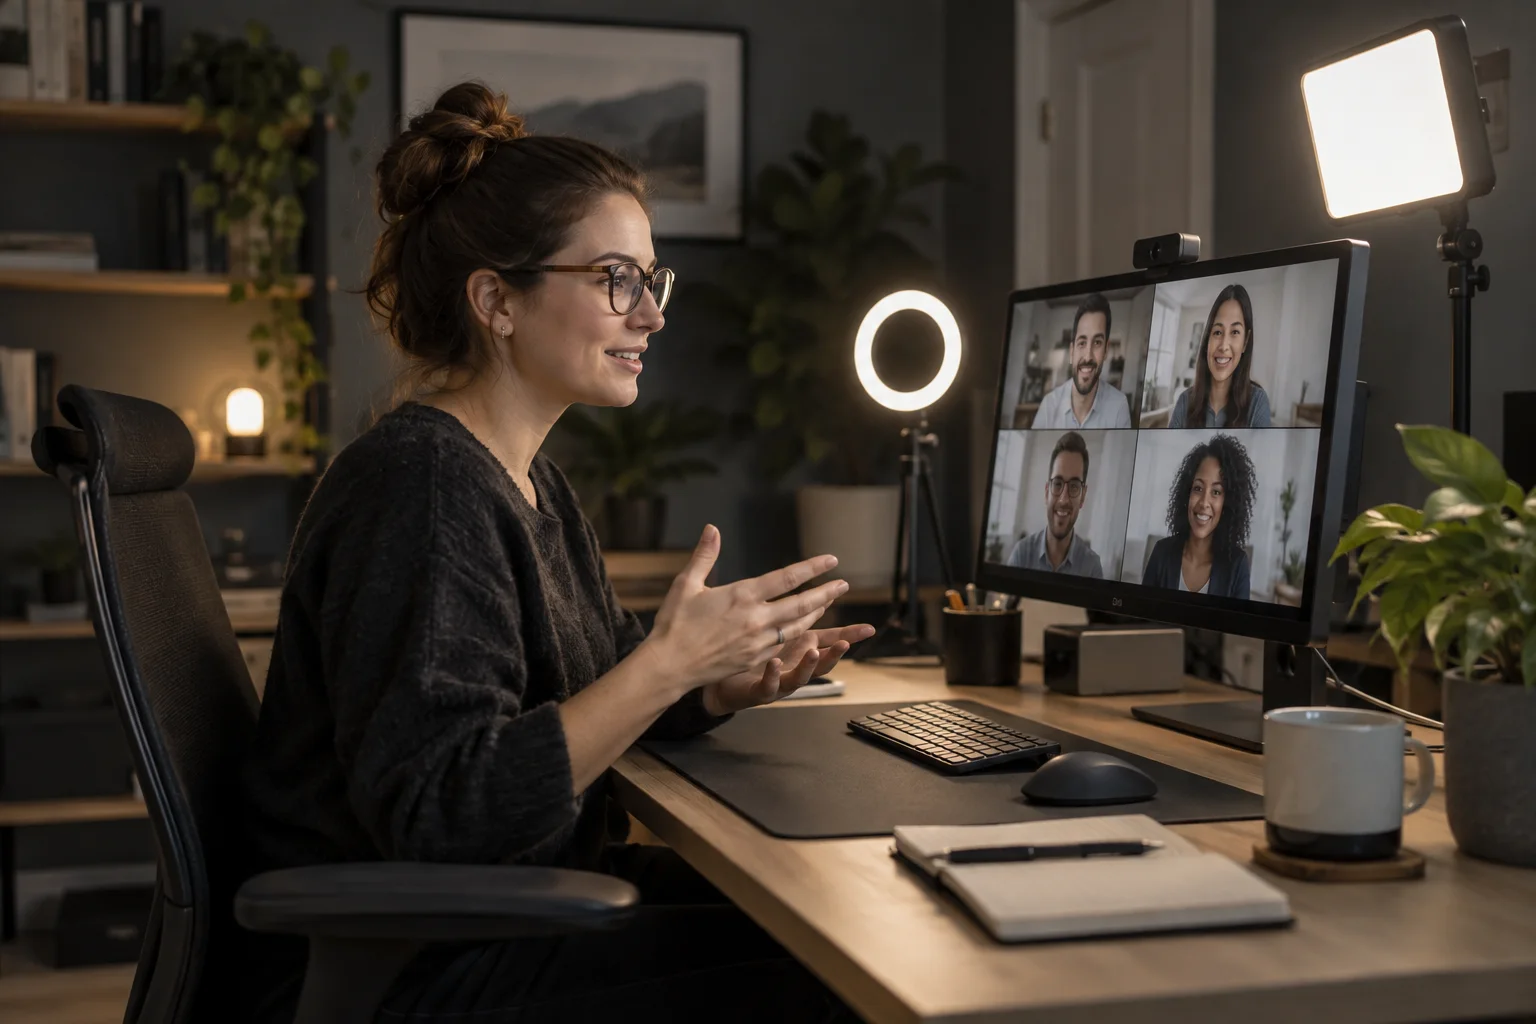
The best video conference lighting for remote working is usually the simplest setup that makes your face clear without a bright window or lamp overpowering the camera. Start with a broad, soft source near the screen and slightly off to one side, then check the live preview for shadow, glare on glasses and background balance before adding another light.
Quick answer
Light the face, then trust the preview.
The best video conference lighting for remote working is usually the simplest setup that makes your face clear without a bright window or lamp overpowering the camera. Start with a broad, soft source near the screen and slightly off to one side, then check the live preview for shadow, glare on glasses and background balance before adding another light.
Start with
position · softness · preview
Place yourself between the camera and the brightest source
Before switching on a desk light, turn toward the window or room light and open your camera preview. A bright window behind you can leave your face dark as the camera adjusts to the scene. If possible, rotate the desk or close a blind enough to soften direct sunlight. Avoid aiming a strong lamp straight into the lens or at a glossy wall behind the screen.
Logitech’s video-meeting-space guidance describes strong light behind a participant as a source of silhouette and recommends evenly lit space; it also cautions that reflective surfaces can create glare visible to remote viewers. The practical test is simple: move the light or your chair, then check the preview again. Camera exposure varies across devices and apps, so no lighting position guarantees the same result everywhere.
Make one change at a time: face a window, soften it, move a lamp, or adjust the camera. That makes it easier to spot what reduced the shadow or glare.
Use a broad, soft source near the screen
For many desk setups, a diffused light placed near the display and slightly above eye level is a useful starting point. Set it a little to the left or right of the camera instead of directly on the lens axis, then angle it toward your face. A nearby broad source can keep the shadows gentle while the screen remains the visual center of the call.
Keep the light large enough, or far enough away, that it does not create a tiny bright patch on one cheek. A diffuser or bounced light can spread the beam; avoid improvising with hot bulbs or materials not rated for the heat. Start at low brightness and raise it only until your face reads clearly. Your camera preview should retain detail in the forehead and cheeks instead of clipping them to a flat white patch.
Choose a panel, ring or existing lamp by the task
A small monitor-mounted panel can be convenient if it clears the webcam, monitor bezel and nearby shelves. A ring light can create a centered reflection in the eyes and a fairly even front fill, but its circle may reflect in glasses or look flat when aimed straight at the face. A desk lamp with a shade or diffuser can work if it stays stable and does not create a sharp hotspot. These are form-factor tradeoffs, not a quality ranking.
| What the preview shows | Try first | Recheck |
|---|---|---|
| Face looks dim against a bright room | Turn toward a window, soften it or add a gentle front source. | Face detail and background brightness together. |
| Hard shadow on one side | Move the source closer to the camera axis or increase diffusion. | Both eyes and cheeks, not only the brightest area. |
| White reflection on glasses | Raise or shift the source and change its angle. | Look forward and slightly down, as you do on a call. |
| Hotspot on forehead or wall | Lower brightness, diffuse the beam or move it farther away. | Exposure after the camera has settled. |
Use the accessory that solves the preview problem while fitting the desk. Check clamp or stand clearance, cable routing, webcam placement, and whether you can move the source for a document camera or second monitor. More lights can add reflections and competing shadows, so begin with one.
Reduce glare, shadows and screen reflections
If you wear glasses, watch for a lamp reflection in both lenses. Move the source higher, farther to the side, or slightly off the direct reflection angle; then tilt it toward the face. A small adjustment can help, but do not put the light so far to the side that one eye disappears into shadow. If the reflection returns when you look down at notes, test that normal call posture too.
Check for reflections from the monitor, a bright window, picture frames or a glossy desk. Matte-looking surfaces can still reflect toward the camera. Lower the source or move it, and keep the background light softer than the main face light. If your webcam has exposure controls, make small adjustments after the physical setup; automatic exposure can react differently as the frame changes.
Balance the background without turning it into a second subject
The background does not need a dedicated decorative light. A window or lamp behind you can pull exposure away from your face, while a very dark room can make a bright face look isolated. Use curtains, room lights or a lamp bounced toward a wall to reduce the contrast. Keep bright practical lights out of the camera frame when they create glare or distract from the conversation.
Preview the frame from the camera’s actual height and angle. A strong color cast from a nearby wall or screen can also shift how the image appears, so check the call app’s preview rather than relying on how the setup looks by eye.
Run a one-minute pre-call lighting check
- Open the meeting app’s camera preview with the room lights in their normal positions.
- Check whether your face is darker than the background or partly silhouetted by a window.
- Turn on one soft source near the display; lower it until highlights keep their detail.
- Look for reflections in glasses, shadows under the eyes and a bright patch on the wall.
- Move naturally, glance at notes and sit at your usual distance to see whether the setup still works.
- Save the light’s position or brightness only if it is quick to repeat and does not crowd the desk.
That check is more useful than choosing a color-temperature number in isolation. Room colors, daylight, skin tone, camera processing and meeting software all affect the final image.
Reference points
- Logitech: Helpful guidelines for setting up a video meeting space (PDF) — discusses even lighting, backlighting and reflective surfaces.
- Logitech Litra Glow product information — example of a diffused desktop video light; manufacturer claims apply to that model.
- How to set up a home office — plan the desk, screen and room together.
- DeskSetup Lab topic guides — compare desk lighting with the wider setup.
Video-call lighting FAQ
What is the best lighting for video calls?
There is no single best lamp for every camera and room. Start with a soft source near the screen, avoid a bright window behind you and judge the result in your meeting app’s preview.
Should a ring light be in front of you?
A ring light is often placed near the camera, but direct placement can reflect in glasses or flatten the face. Shift its height or angle and check both the eyes and shadows in the preview.
How do I stop glasses glare on video calls?
Move the light higher or to one side, then angle it toward your face. Test while looking at the screen and down at notes so the reflection does not return in your normal posture.
Is a window good lighting for a video call?
A window can be a useful soft source when it is in front of or beside you. If it is behind you or direct sunlight creates a harsh patch, turn around or soften it and check the camera preview.
Do I need two lights for video calls?
Usually start with one source and the room lights you already use. Add another only if the preview shows a specific shadow or background issue that you cannot solve by moving the first light.