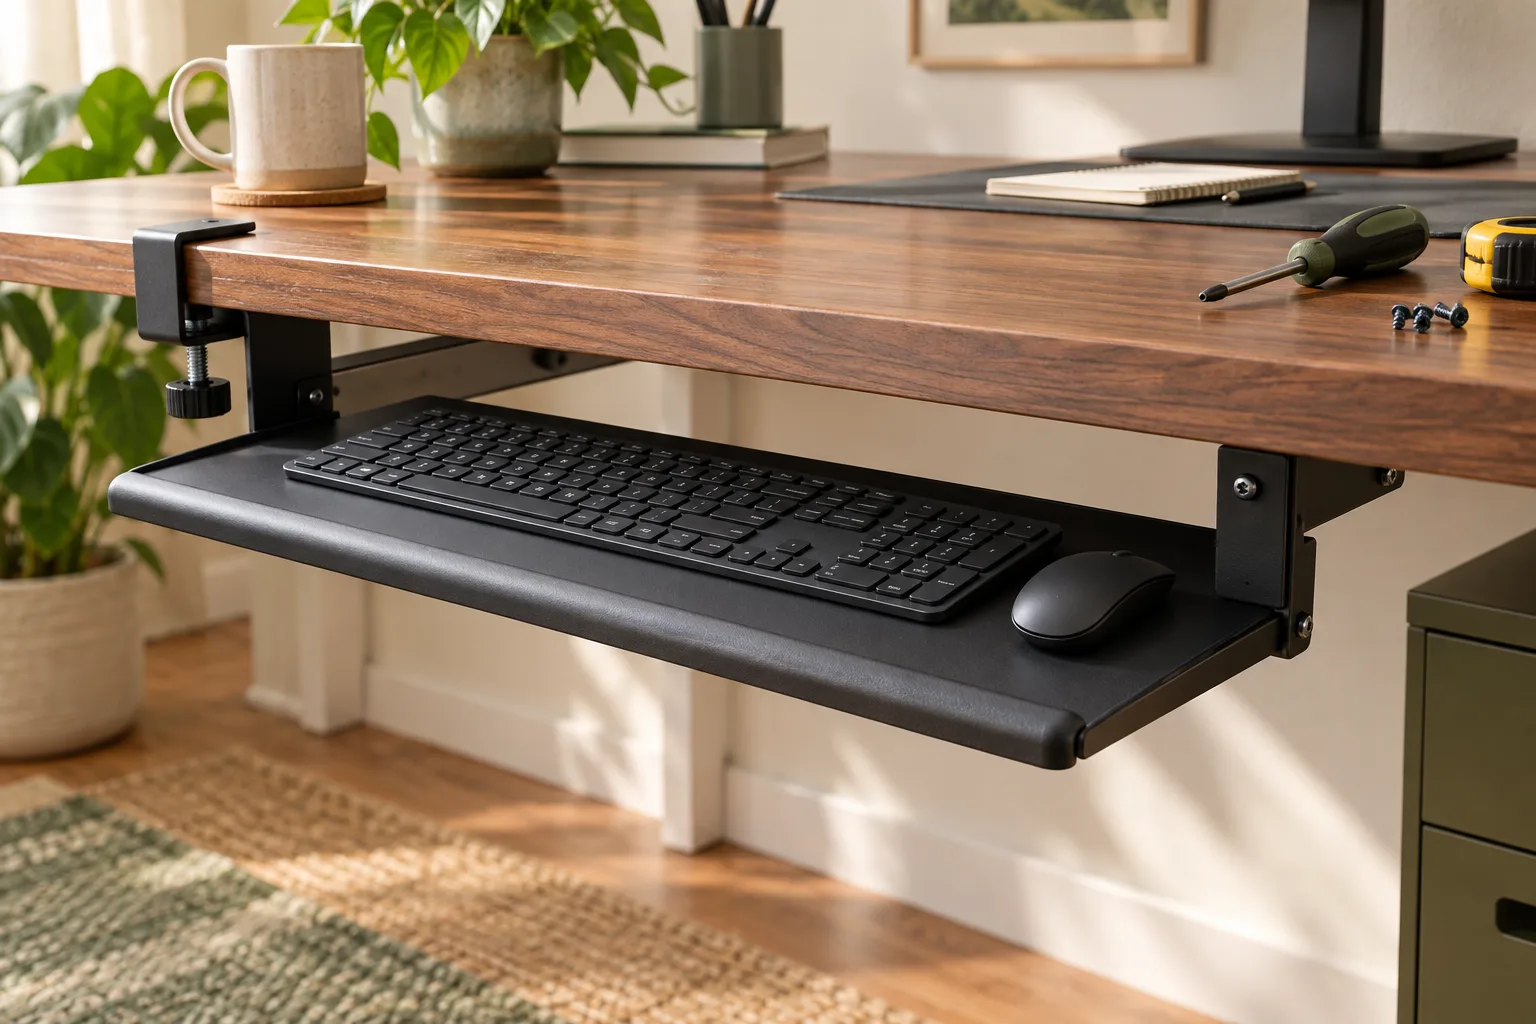
To install a keyboard tray, measure the desk underside, keyboard and mouse zone, choose a compatible clamp or screw-mount system, mark the hardware positions, install it without forcing the desk material, then test the tray’s travel with the chair and cables in place. The manufacturer’s hardware and load instructions control the exact holes, screws and clearances.
Quick answer
Measure the underside before you pick the mount.
To install a keyboard tray, measure the desk underside, keyboard and mouse zone, choose a compatible clamp or screw-mount system, mark the hardware positions, install it without forcing the desk material, then test the tray’s travel with the chair and cables in place. The manufacturer’s hardware and load instructions control the exact holes, screws and clearances.
Start with
fit · stability · daily use
Measure the desk and the complete input zone
Before you install a keyboard tray, measure the keyboard, mouse, wrist rest and any controller that must stay within reach. Record the desk’s front-edge thickness, underside depth, support rails, drawers, cable channels and clear knee space. A tray that fits the keyboard but leaves the mouse behind or blocks your legs is not a successful installation.
Read the tray instructions with the desk in front of you. Confirm the mounting surface, screw length, clamp opening, minimum edge depth, required tools and any exclusion for glass, hollow panels or moving sit-stand frames. Do not assume that a universal-looking bracket is safe for every desktop.
Use painter’s tape to outline the tray footprint beneath the desk. Check the chair, knees, drawers and cable route before you drill or tighten a clamp.
Install a clamp-on keyboard tray
A clamp mount can avoid drilling, but it still needs a compatible desk edge and enough clearance underneath. Assemble the tray and brackets loosely according to the instructions, then place the clamps on the desk edge without tightening. Check that the clamp pads sit flat and that the tray is centred relative to your keyboard and mouse.
- Clean the desk edge and inspect it for a fragile veneer, bevel or cable channel that the clamp could damage.
- Set the tray height and depth with the chair in its normal position. Keep the brackets clear of knees and drawers.
- Tighten each clamp gradually and alternate sides so the tray remains level. Stop if the desk flexes, the pad twists or the hardware reaches the end of its adjustment.
- Place the keyboard and mouse on the tray, then apply normal typing and mouse movement. Do not use body weight to test a mount.
- Recheck the clamp after a short use period and follow any maker instruction for retightening or protective pads.
Clamp mounts are convenient for renters or desks where drilling is not allowed, but the visible edge and underside must be strong enough for the load. A clamp that touches only a narrow bevel or a hollow lip can shift even when it feels tight at first.
Install a screw-mount keyboard tray
A screw mount needs more planning because the holes become part of the desk. Place the tray where the keyboard and mouse will sit naturally, use the hardware template if supplied and mark the hole positions with the tray removed. Check below the desktop for drawers, cables, metal frames and anything that could be damaged by a pilot hole or screw.
- Confirm the desk material and the required screw type, length and pilot-hole size from the instructions.
- Mark the bracket line with a square or tape and measure from both the front and side edges so the tray is not skewed.
- Drill only the pilot depth required, keeping the bit perpendicular and the cable route clear. Use a depth stop or tape marker if appropriate.
- Attach the brackets without overtightening. A screw that spins in a soft panel has not created a stronger mount.
- Install the rails or platform, move it through its full travel and tighten the hardware only after alignment is confirmed.
If the desk is thin, hollow, glass or otherwise outside the tray instructions, stop and choose another mounting method or ask the manufacturer. A different screw is not a substitute for a compatible substrate.
Test the tray before putting the tools away
Push the tray in and out slowly. Check the front edge, chair arms, knees, drawers, desk legs and any computer under the desk. On a sit-stand desk, raise and lower the frame with the tray empty and inspect the cable slack in every position.
Place the keyboard, mouse and wrist rest on the platform and repeat the movement. The tray should stay level enough for normal use, the rails should not bind and the mount should not twist when you move the mouse. If the mouse zone is too small, do not solve the problem by hanging equipment over the edge; change the platform or the setup.
Fix common installation problems
The tray is crooked
Loosen the hardware slightly, measure from both edges and realign before tightening. For screw mounts, do not enlarge holes casually; a shifted bracket may need a new position or a different installation plan.
The tray hits my knees
Check height, depth and chair position together. A tray can fit the desk and still be incompatible with the user’s leg space. Raise it only if the hands remain comfortable, or choose a shallower platform.
The clamp slips
Stop using it until the edge, pad, load and adjustment range are checked. Clean contact surfaces and follow the maker’s pad or retightening instructions, but do not compensate for an incompatible desk with excessive force.
The rail binds
Check alignment, screw pressure and debris. A rail that binds under an empty tray should not be forced under a keyboard and mouse load.
Reference points
- How to choose an under-desk keyboard tray — dimensions and mount types.
- How to set up a dual-monitor KVM — keep cables and desk movement in view.
- DeskSetup Lab method — compare fit, construction and daily use.
Keyboard tray installation FAQ
Can I install a keyboard tray without drilling?
Yes, if the tray has a clamp mount designed for your desk edge and enough clearance. Check the material, thickness, clamp pads, load and drawer or cable collisions before tightening it.
Is a clamp-on keyboard tray stable?
It can be stable when the desk edge and clamp match the instructions, the pads sit flat and the load stays within the stated limit. A clamp is not automatically safe on a bevel, hollow lip or fragile panel.
How do I install a screw-mount keyboard tray?
Measure the input zone, mark the bracket positions, confirm the desk material and screw depth, drill the required pilot holes and tighten without crushing the panel. Follow the exact hardware instructions and test the full travel before loading it.
How much clearance does a keyboard tray need?
Enough for the tray, keyboard, mouse, wrists, knees, chair and cables through the full movement range. Measure the complete setup rather than relying on the platform width alone.