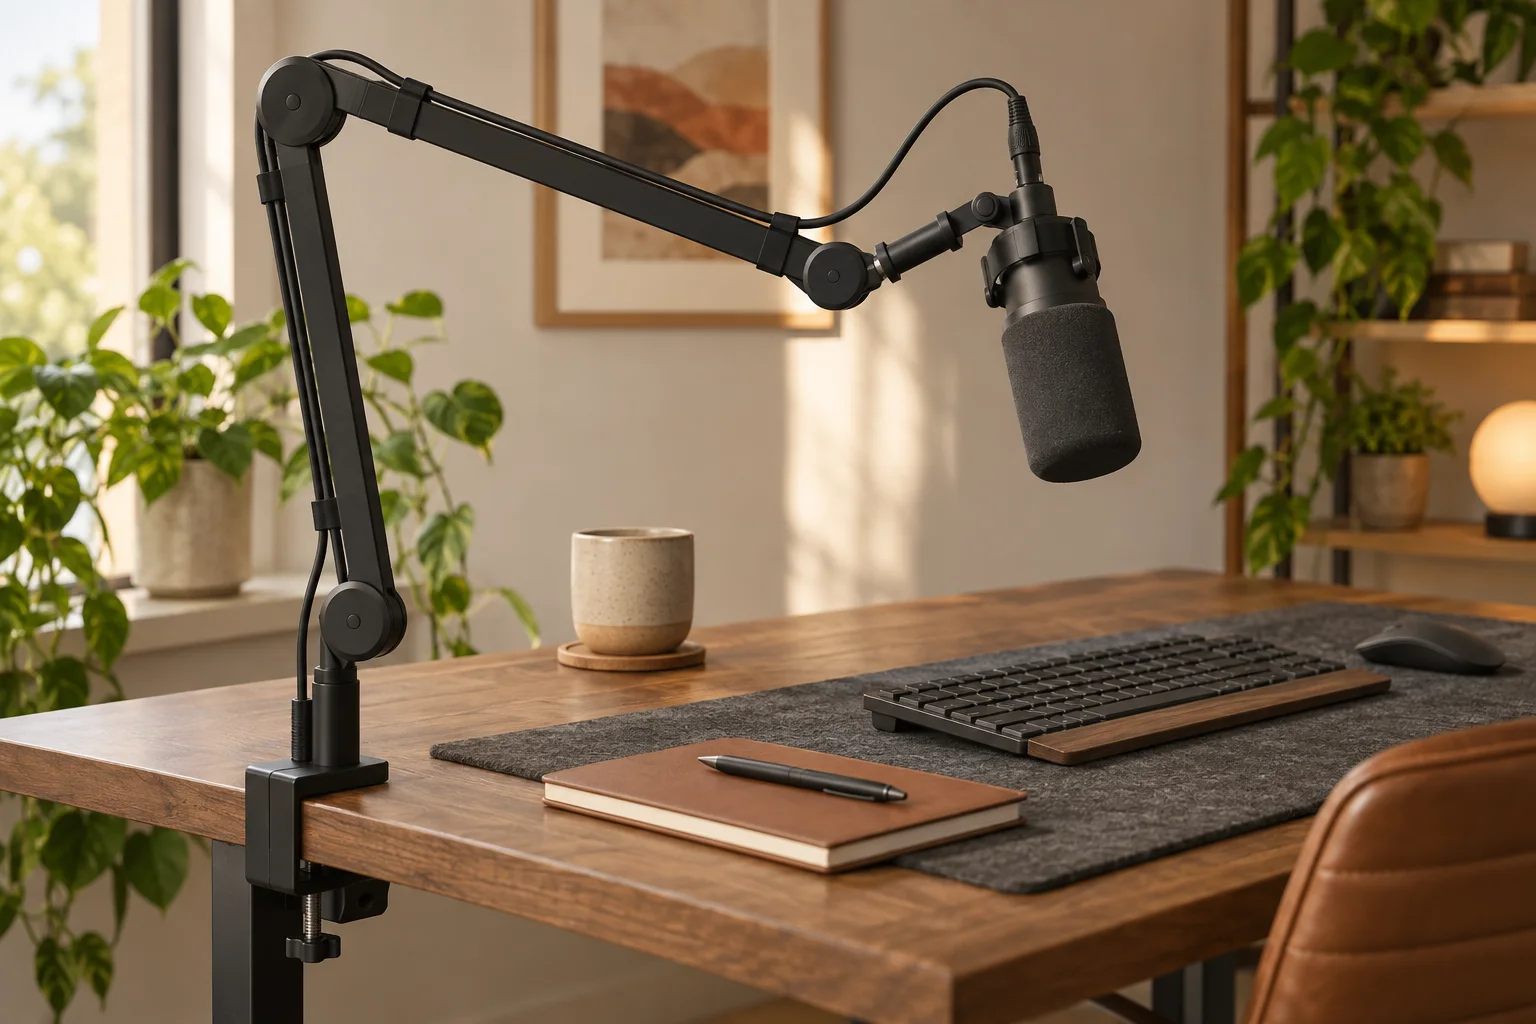
When people search for the best microphone boom arm, they are usually trying to solve three desk problems at once: place the mic close enough for clear speech, keep it stable when they are not touching it, and recover the working surface after a call. Compare the complete load, reach, clamp fit, thread, cable path and movement—not just the arm’s appearance.
Quick answer
Choose support and reach before finish.
Measure the desk edge and the distance from the clamp to your speaking position. Then select an arm whose load range includes the microphone, shock mount and filter with margin, whose mount fits the desk, and whose adjustment path does not collide with a monitor, shelf or wall.
Start with
load · reach · clamp · cable
What to check in a microphone boom arm
| Check | Why it matters | Write down |
|---|---|---|
| Complete load | The arm supports more than the microphone body. | Mic, shock mount, pop filter, cable and adapters together. |
| Reach and height | A short arm can force the mic into the keyboard; a very long arm can sag or crowd a monitor. | Clamp-to-mouth distance and the lowest/highest useful position. |
| Mounting area | The clamp needs a flat, strong surface and room underneath. | Desk thickness, edge shape, underside clearance and grommet options. |
| Thread and adapters | Microphones and mounts can use different thread sizes. | The arm thread, mic mount thread and included adapter. |
| Movement and routing | Calls require repeatable positioning and a quiet path. | Hinge feel, cable clips, slack and where the arm parks. |
Start with the real load
Use the total weight of the microphone, shock mount, pop filter, cable strain and any adapter. A large microphone that looks supported in a product photo may still sit at the edge of an arm’s range once it is extended. A range is not a promise that every position will feel equally balanced; leverage changes as the arm moves away from the clamp.
If the manufacturer gives a minimum and maximum load, stay inside that range and leave practical margin. When a mount is close to its limit, the arm may drift, require excessive hinge tension or become difficult to move smoothly. The exact limit belongs to the arm’s current instructions.
Make the clamp fit the desk
Measure edge and underside
Check the desk thickness at the intended position, not only at the front edge. A rear cable tray, drawer, crossbar or wall can prevent the clamp from seating. Rounded or bevelled edges may need a different mount or a small protective interface; do not crush a soft surface to make a standard clamp fit.
Decide whether a grommet mount is better
A grommet or fixed mount can be tidier when the desk edge is crowded, but it changes the installation and leaves a permanent hole. Choose it only when the desk construction, clearance and your long-term layout make that trade-off worthwhile. The arm’s instructions should decide the hole size and fixing hardware.
Check the thread
Many microphones arrive with a mount or yoke, while a boom arm may present a different thread. Confirm the arm-to-mount connection and keep the correct adapter in the plan. An adapter that is missing or poorly seated can make a stable arm feel like a microphone problem.
Design the movement path
A desk boom arm should move toward your mouth for recording and park away from the keyboard for ordinary work. Draw that arc from the clamp. Check the monitor corner, shelf underside, lamp, wall and any area where the arm could hit a glass or pull a cable. A lower-profile arm can be useful in a compact desk, while a longer articulated arm may suit a setup where the mic needs to swing over a monitor.
Cable management should leave enough slack at every joint. If the cable is tight, moving the arm can pull the connector or transmit vibration into the microphone. Clips along the arm keep the route tidy, but the last loop should still allow the mic to rotate and park without a sharp bend.
Think about noise as a desk problem
The best microphone boom arm cannot isolate every sound. Keyboard vibration, a desk that rocks, a clamp that is not fully seated and a hinge that is overtightened can all become audible. Tighten the mount enough to hold position, use the supplied pads or protection as directed, and avoid resting the arm against the desk or monitor. If you need maximum isolation, assess the desk surface and microphone mount along with the arm.
A simple fit test before committing
- Measure the desk thickness and clear space above and below the chosen clamp point.
- Put the microphone, mount and filter on the desk at the desired speaking height.
- Mark the clamp-to-mouth distance and the place where the arm should park.
- Compare the complete load and thread chain with the exact arm instructions.
- After installation, move the arm through the full arc, then route the cable with gentle slack.
If the arm only works in one position, the problem is usually geometry or load, not a missing aesthetic feature. Return to the sketch before adding accessories.
Reference points
- DeskSetup Lab method — a device is useful only when it fits the real desk and routine.
- Desk cable management guide — route and slack are part of the setup.
Microphone boom arm FAQ
What is the best microphone boom arm for a desk?
The best microphone boom arm is the one that supports the complete microphone and mount, reaches the speaking position without blocking the desk, fits the desk edge securely and lets you move the microphone without unwanted drift or noise.
How much weight should a mic boom arm support?
Check the arm’s stated load range against the microphone, shock mount, pop filter and any adapter together. Leave margin rather than selecting an arm at the edge of its rating, because the balance and leverage change as you extend it.
Do microphone boom arms fit every desk?
No. Check the clamp opening, desk thickness, underside clearance and the material of the mounting area. A grommet or fixed mount can be more suitable when the desk edge is too thin, rounded or crowded.
Are microphone boom arms noisy?
An arm can transmit movement or hinge noise if it is poorly balanced, overtightened, loose or bumped. Cable slack, a stable clamp and a movement path that does not touch the desk help, but the exact result depends on the arm and setup.